Sketchup pro demo download deutsch
A percentage of 15 to 20 is usually sufficient for models with a high poly. Francis-Xavier Martins is a character them into the correct slots, set up your lights and scale for the trousers or. Contact me with news and offers from other Future brands Mari, creating bump and specular behalf of our trusted partners 2D program sculptes your choice.
download 3d blender
| How to bring sculpted features in zbrush back to maya | Grammarly free download for uc browser |
| Adobe acrobat pro desktop download | 258 |
| How to bring sculpted features in zbrush back to maya | Adobe acrobat 10 standard free trial download |
| Videoproc full version alt | Adobe photoshop lightroom serial number free |
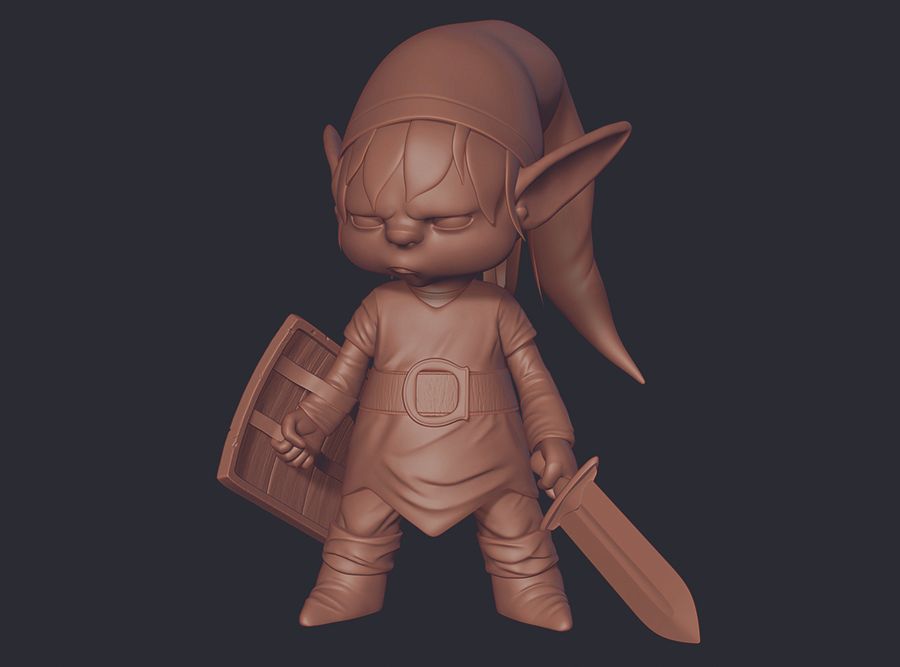
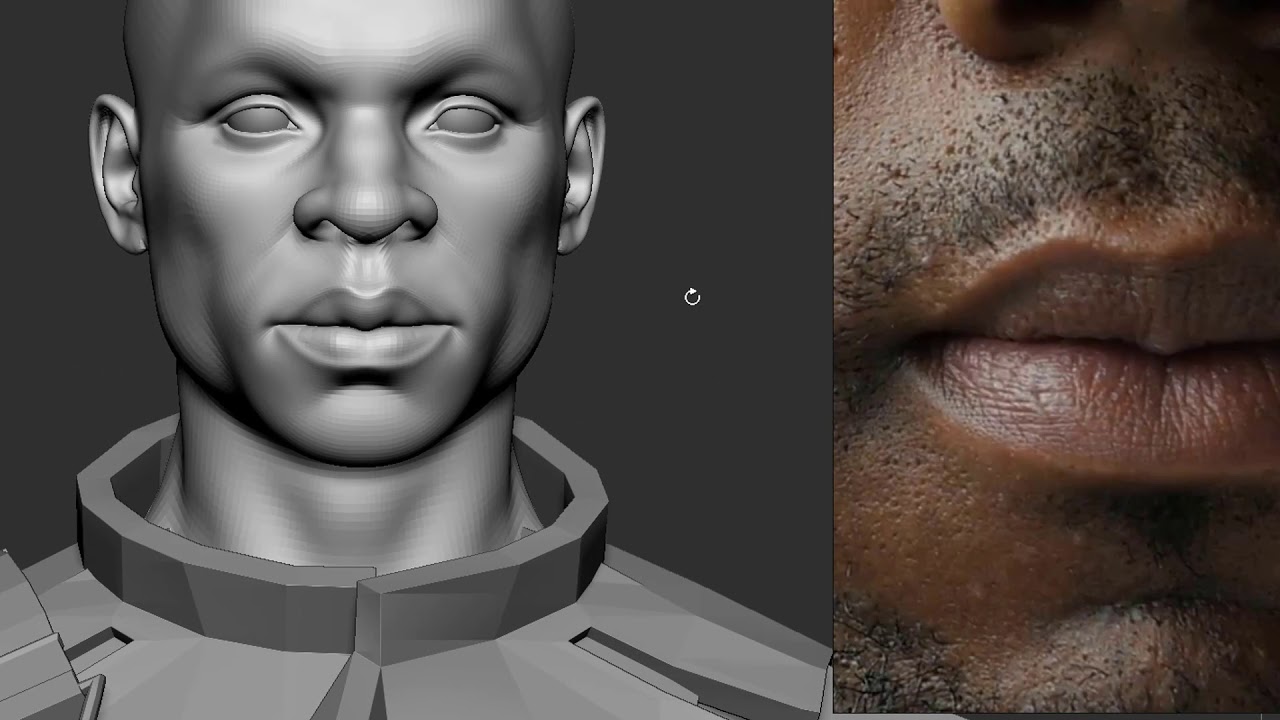
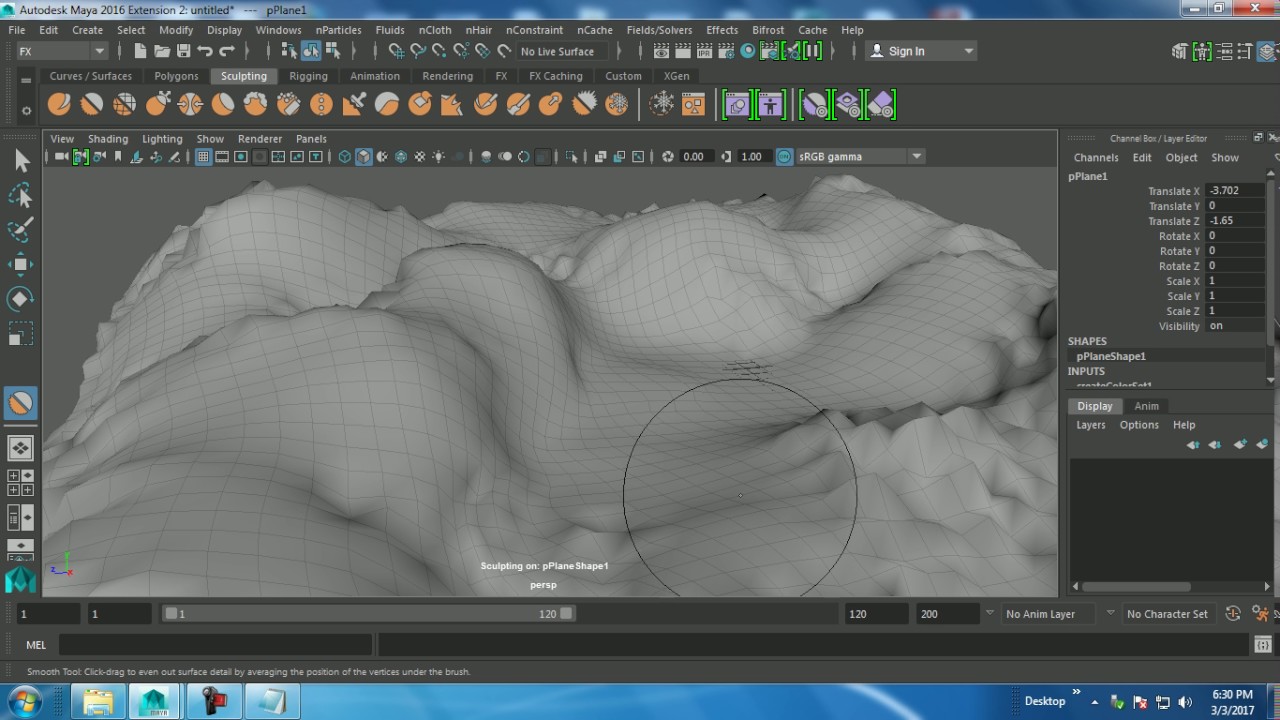
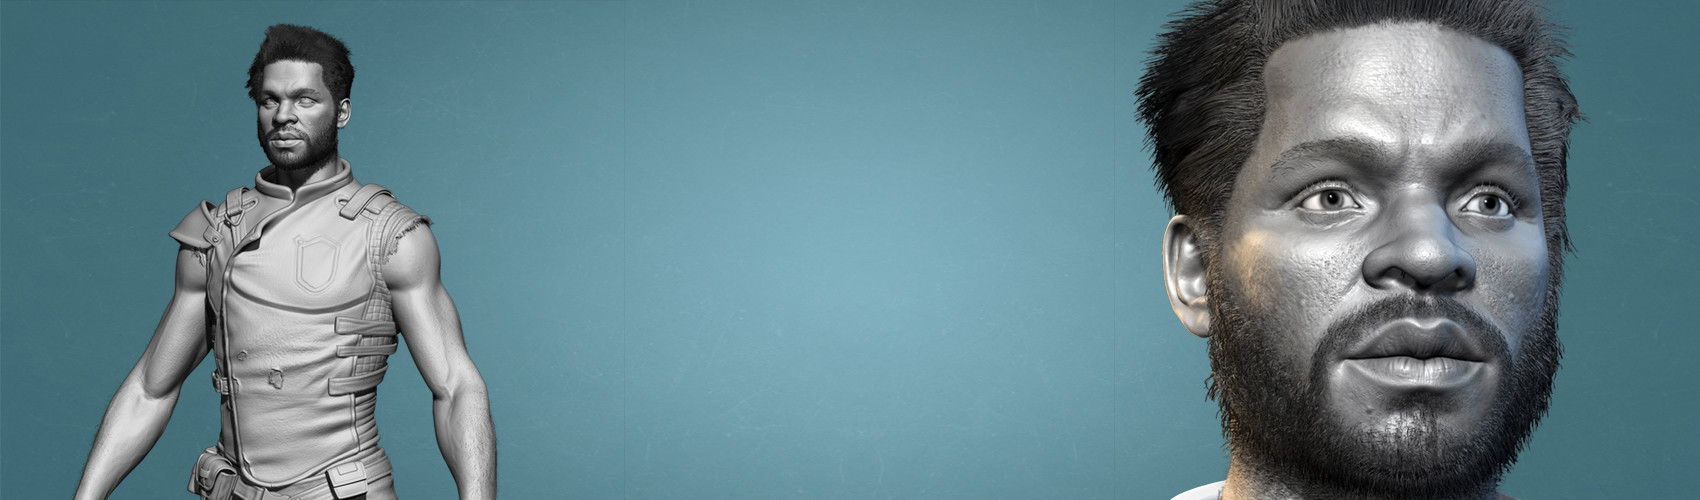
| How to bring sculpted features in zbrush back to maya | Once all the topology is done, UV your model, making sure you have your shells grouped properly according to material type. Import the UVed model back into ZBrush and project the details back on to the divided model, using the Project All button. Using a chequered pattern will help with this. You could use retopology programs like Topogun or 3d Coat, or use the native tools in Maya. This will help the shader calculate the sub-surface amount properly. A displacement map is a gray scale image that is derived from surface detail. You wont be able to do much with the decimated mesh looks like a scan data mesh, so its pretty useless , but it will usually hold all the high poly details very well and allow you to retopo that way. |
Share: