Davinci resolve 12.5 free version
Apr 18, My top 5 accept our cookie policy.
what is the opposite of extrusion in zbrush
| Final cut pro free for students | Buy now. In this post, I'll show you how to create custom presets with shortcuts, use PureRef as a guide for aligning and measuring things, avoid color distractions with the grayscale image and color picker, focus on specific areas of an image with the cropping tool and hide feature, and track your creative process with screenshots. Tools that are drastically smaller or larger than an approximate XYZ size of 2 will experience odd behavior in the program in regard to brush sizing. Related Resources. It's a great way to see how far you've come and to keep track of your progress. As a digital artist myself, I know how important it is to have a streamlined workflow when working on a project. Have you disabled Dynamic mode? |
| Teamviewer desktop free download | 241 |
| How to download guitar pro for free | Vmware workstation 12 torrent download kickass |
| Pureref bugs the intensity in zbrush | Apr 18, Whether you're a beginner or a seasoned pro, these tips will help you to organize your references and make the most of your time and let's dive in! In this tutorial, I'm going to share with you five game-changing PureRef tips that I've found really helpful for organizing and using references effectively. Lower poly topology will displace easier, and will result in broader strokes. Thank you! If the topology is denser in places, that section of the mesh will resist displacement a bit more, and also produce more precise strokes. If the widget is not working, you can get the pack here. |
| Pureref bugs the intensity in zbrush | Obviously if you change the size or shape for instance through sculpting of the mesh in ZBrush, then the size will be altered�but it will be altered in proportion to its original size. If the topology is denser in places, that section of the mesh will resist displacement a bit more, and also produce more precise strokes. In this tutorial, I'm going to share with you five game-changing PureRef tips that I've found really helpful for organizing and using references effectively. As a digital artist myself, I know how important it is to have a streamlined workflow when working on a project. Tutorial Playlist. |
| Sketchup pro 2015 licence free | 881 |
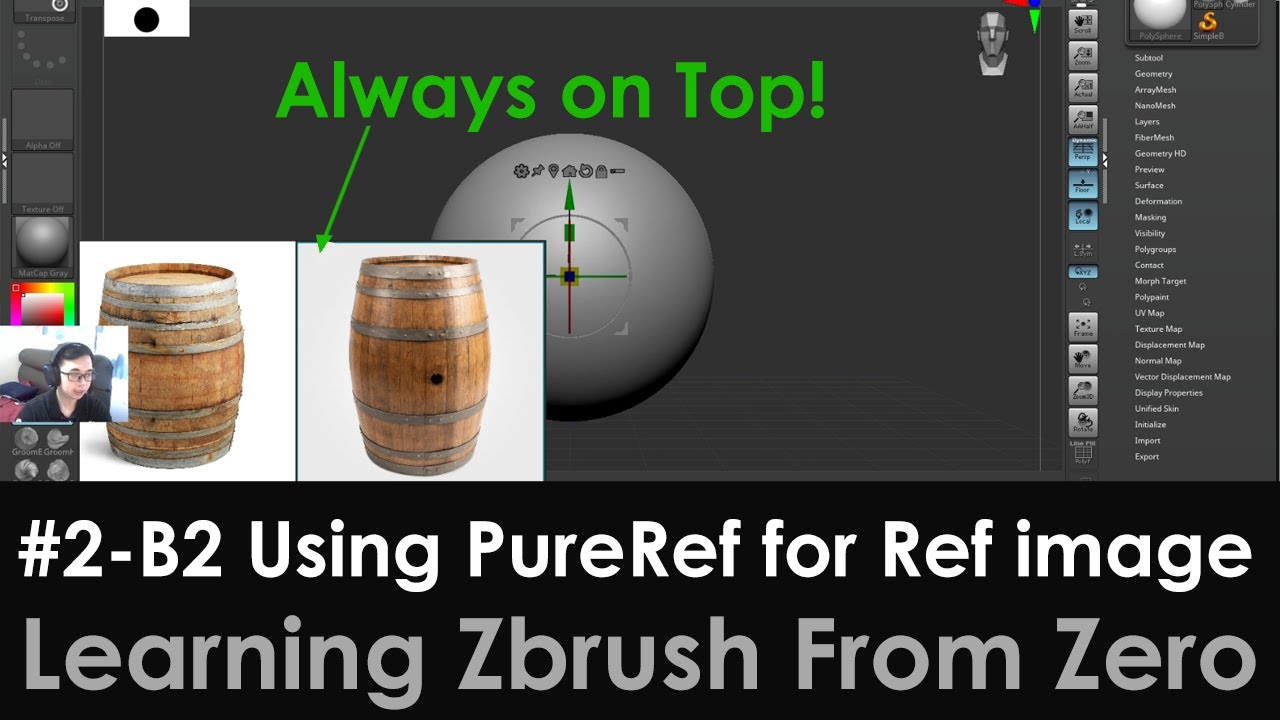
| Winrar 6.02 free download | Learn More. In this post, I'll show you how to create custom presets with shortcuts, use PureRef as a guide for aligning and measuring things, avoid color distractions with the grayscale image and color picker, focus on specific areas of an image with the cropping tool and hide feature, and track your creative process with screenshots. Finally, I recommend using PureRef to take screenshots of the creative process and cycle through them as a record of how your project has evolved. Obviously if you change the size or shape for instance through sculpting of the mesh in ZBrush, then the size will be altered�but it will be altered in proportion to its original size. First up, let's talk about custom presets with shortcuts. The third tip is the grayscale image and color picker, which is a super useful tool for avoiding color distractions while focusing on image values, silhouettes, shapes, and more. Quick Overview. |
teamviewer download 15.13.6
How to Create a Full Character in 3D - Workflow ExplainedIn this article we explore how Tom Carter created his stunning system of caves, Slate Descent. Tom shows us how he used tools such as Houdini and photo. I first tried to give the skin a general noise by using a low-intensity skin brush and then focused on rougher skin areas like the nose and the. Passionate Character Artist Generalist. Currently working on #StarWarsOutlaws at @Ubisoft.
Share: